A couple Saturdays ago, I was invited by
Melissa of the lovely blog: I Still Love You to a fabric dyeing party. I until a few weeks ago, I hadn't dyed fabric in about 5 years {way before I started blogging}. In the past I dyed fabric with my friend Jeanette {who by the way, should really have a blog} and we used
These Dyes, and their were quite a few steps involved.
Melissa contacted
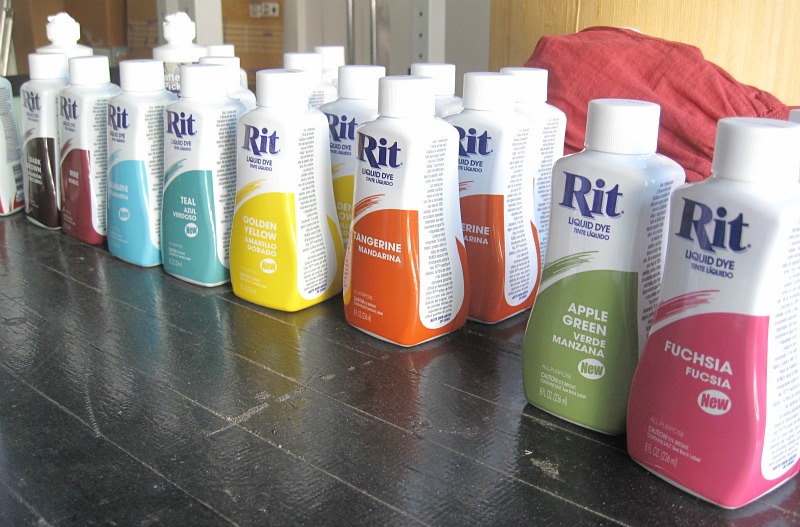
Rit Dye and they were nice enough to send a large assortment of dyes for our "little" party. I brought a
{alot of things} few things to dye and had a wonderful afternoon dyeing and getting to know Melissa better. I just have to say, I loved working with Rit Dye. The colors were beautiful. The directions were easy and simple and the results were fantastic. If your looking to venture into dyeing your own fabrics I highly recommending trying Rit Dye.
Here a few tips when working with Rit Dyes.
1: Use a large plastic tub.
Although it uses more dye to fill the tub, you really get a much even-er dye of your fabric(s). When I used a smaller tub the dye didn't coat as evenly and I ending up with more of a tye dye look.
2: Hot water is a must.
My fabrics turned out brighter and truer when I put the fabric directly in hot water. When the water had cooled and I dyed the fabrics had a more sub-dued color.
3: Don't forget the Salt
The directions call for salt and I highly recommend it. The hot water and salt seemed to create the best results.
4: Give yourself space and room to be messy.
I am just a messy crafter/quilter. We worked in Melissa's garage {which I highly encourage}. Also, wear plastic gloves, unless you want your hands stained the colors of the dyes.
5: Garage Bags
After dyeing you need somewhere to set your fabrics. Large garbage bags were perfect, also, easy to transport home.
What I Dyed:
a swimsuit cover up
old riped up sheets {for quilting},
2 skirts
2 shirts
4 burp clothes
To see what Melissa transformed
click here.
*My opinions about
Rit Dye are entirely my own. Rit Dye did provide the dyes, but my opinions expressed on their products are solely mine.





 Posts
Posts


